Cloud
Important Configurations and Settings When You Launch Your Cloud Server
How to securely configure a new Linux cloud server: create a user, SSH key-based auth, disable password and root login, and set up UFW firewall.

Having your own server is a must for many people—whether for a personal portfolio, a WordPress site, or any application—because it gives you full access so you can change and edit whatever you want.
In this article we'll talk about how to correctly configure your server and some security measures that make it more secure, plus some best practices for working with Linux servers in general.
I'll use a virtual server from Azure Cloud so we can demonstrate things on a real server rather than a VirtualBox machine, which does not give you the same production scenario.
Log in and create a user#
First, log in to your server via SSH. If you use Linux or Mac, open your terminal. If you use Windows, download PuTTY—but if you have Windows 10 Pro, the SSH client comes preinstalled, so you don't need any third-party software; just open Command Prompt (CMD).
When you create your virtual server with your cloud provider you get an IP to connect via SSH. Using a floating IP is a best practice for production; we'll stick with the one given by the provider here.
I created a server just for testing. Log in with SSH using the username and password from the dashboard. In my case:
ssh Nassim@20.199.88.158I used a capital first letter on purpose so I could create a new user and add them to the sudo group. Some providers give you root login like:
ssh root@your_ipLogging in as root is not a good practice. We'll add a new user and add them to the sudo group.
If your provider doesn't use root by default, you can skip to the next section.
Create a new user (change nassim to whatever you want):
sudo adduser nassimWhen you press Enter you'll be prompted for a password (on Linux the password is hidden as you type). After confirming, you can fill in optional info or press Enter to skip.
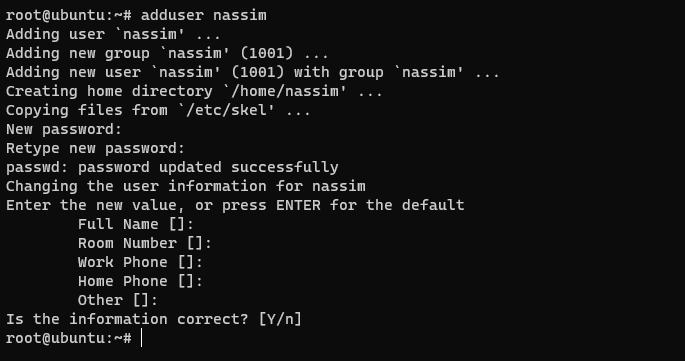
Add the user to the sudo group:
sudo adduser nassim sudoOr:
sudo usermod -aG sudo nassim
Log out and log in#
Log out and log in as the new user (it's not good practice to stay as root). Type exit, then:
ssh nassim@20.199.88.158I used a capital letter the first time to show that nassim and Nassim are different in Linux—if your username is nassim, connecting as Nassim won't work.
Enter the password you set. Now update packages and install security updates (do this first on any new server):
sudo apt update && sudo apt upgrade -yThis may take a few minutes. Then restart:
sudo rebootWait a moment, then log in again via SSH.
Set up SSH key-based authentication#
Next we'll set up SSH key-based authentication so you can log in without a password. Password login allows brute-force attacks; with key-based auth only someone with your private key can log in.
Make sure you're in your user's home directory:
pwd
Create a .ssh directory:
mkdir .sshOn your local machine: on Windows open CMD and run cd %USERPROFILE%\.ssh. On Linux or Mac: cd ~/.ssh/.
Generate a key pair:
ssh-keygen -b 4096The -b option sets the key size; larger is more secure. You can choose a custom key name (e.g. test_server) or press Enter for the default. Optionally set a passphrase or press Enter to leave it blank.
You'll get two files: the private key (e.g. test_server) and the public key (e.g. test_server.pub). Copy the public key to the server. On your local machine:
Windows:
scp %USERPROFILE%\.ssh\test_server.pub nassim@20.199.88.158:~/.ssh/authorized_keysLinux/Mac:
scp ~/.ssh/test_server.pub nassim@20.199.88.158:~/.ssh/authorized_keysEnter your server password when prompted.

On the server, set permissions:
sudo chmod 700 ~/.ssh/
sudo chmod 600 ~/.ssh/*
Edit the SSH daemon config:
sudo nano /etc/ssh/sshd_configSet PasswordAuthentication to no and PermitRootLogin to no. Save (Ctrl+X, Y, Enter).

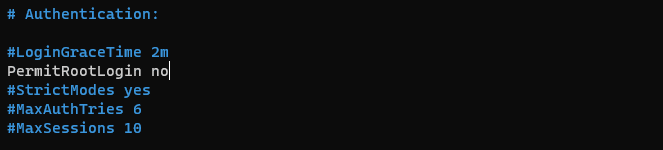
Restart SSH:
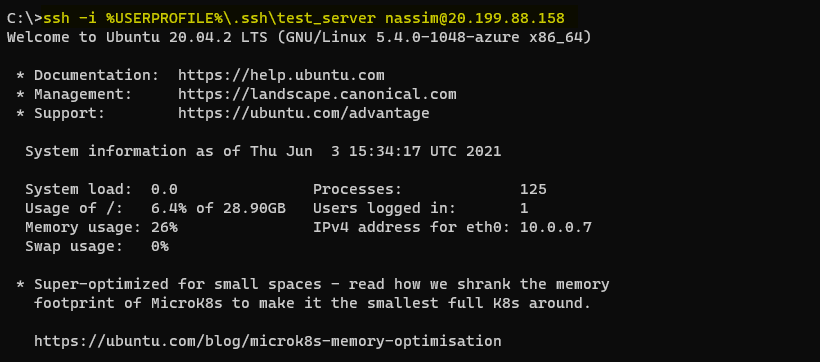
sudo systemctl restart sshdFrom now on you must specify your private key to log in (no password). Example:
Windows: ssh -i %USERPROFILE%\.ssh\test_server nassim@20.199.88.158
Linux/Mac: ssh -i ~/.ssh/test_server nassim@20.199.88.158
Set up the firewall#
Next we'll add a firewall. Many providers have one in the dashboard (e.g. Azure); we'll add UFW on the server as well.
sudo apt install ufwAllow outgoing and deny incoming by default:
sudo ufw default allow outgoing
sudo ufw default deny incoming
Allow SSH (otherwise you'll lose access):
sudo ufw allow sshOr sudo ufw allow OpenSSH. To allow HTTP (port 80):
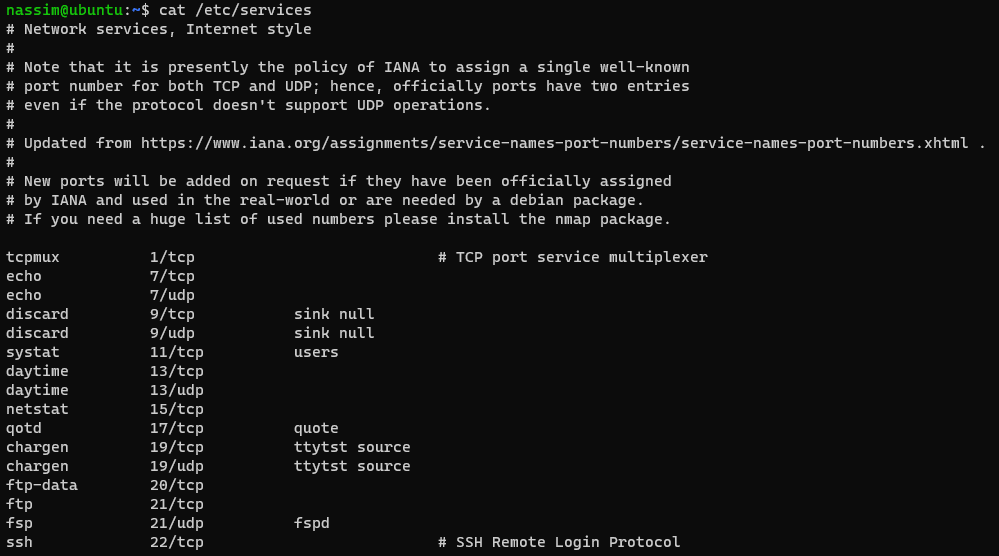
sudo ufw allow 80To list services and ports: cat /etc/services.
Warning
Enable the firewall:
sudo ufw enableType y when prompted.

Check status:
sudo ufw status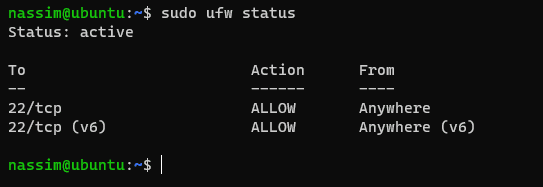
Enable logging:
sudo ufw logging onLog levels: sudo ufw logging low|medium|high (default is low). More info: man ufw.
Note#
With all these security measures and best practices we are only reducing the risk of being hacked—nothing in this field makes you 100% protected.
Related posts
Set Up and Configure Apache, MySQL, and phpMyAdmin (LAMP Stack) on Ubuntu 20.04
Install and configure a LAMP stack on Ubuntu 20.04: Apache, MySQL, PHP, and phpMyAdmin, including firewall rules and MySQL authentication.
Jun 10, 2021 · 4 min read
Set Up a Billing Alarm on Amazon AWS CloudWatch
Step-by-step guide to creating a billing alarm in AWS CloudWatch so you get notified when your bill exceeds a threshold, plus free tier usage alerts.
Sep 17, 2021 · 3 min read