Cloud
Set Up and Configure Apache, MySQL, and phpMyAdmin (LAMP Stack) on Ubuntu 20.04
Install and configure a LAMP stack on Ubuntu 20.04: Apache, MySQL, PHP, and phpMyAdmin, including firewall rules and MySQL authentication.
Knowing how to work with web servers is a necessary skill—whether for e-commerce, WordPress, or anything else, you often need a website.
The two most common web servers are Apache and NGINX. In this article we'll focus on Apache: a solid choice with many features and a large community.
We already configured a virtual cloud server and applied important configuration and security steps in a previous article. If you haven't done that yet, check it first.
Install Apache#
Log in via SSH, then update the package index (good practice before installing software):
sudo apt updateInstall Apache:
sudo apt install apache2 -yCheck that it's running:
sudo systemctl status apache2or:
sudo service apache2 status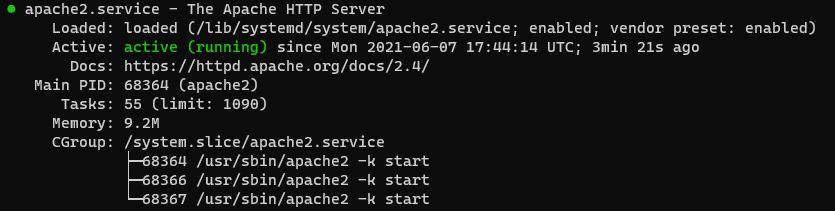
Before testing in the browser, allow port 80 in the firewall. If you followed the previous article you're using UFW. List apps:
sudo ufw app listYou'll see Apache options: Apache (port 80), Apache Secure (443), Apache Full (80 and 443). For now allow unencrypted traffic:
sudo ufw allow Apacheor sudo ufw allow 80. Then:
sudo ufw status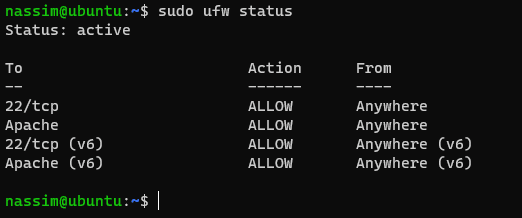
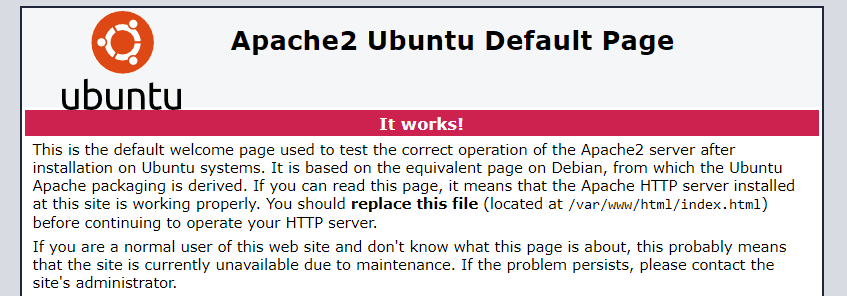
Open your server IP in a browser; you should see the default Apache page.
Install and secure MySQL#
Install MySQL and PHP:
sudo apt install mysql-server -ySecure the MySQL installation:
sudo mysql_secure_installationGo through the prompts. For the validate password plugin: if you plan to use WordPress or phpMyAdmin, choosing No is often easier. Set a strong root password and store it safely.
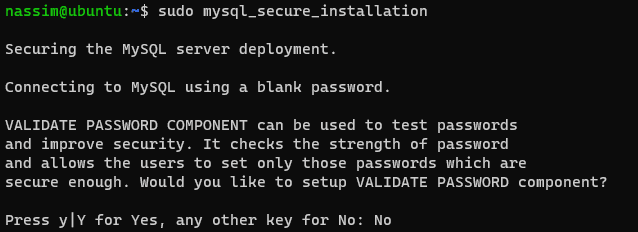

Remove anonymous users and disallow remote root login when asked. Remove the test database and reload privileges.
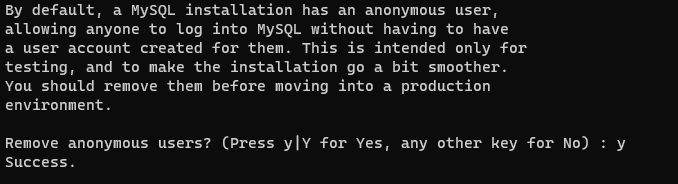

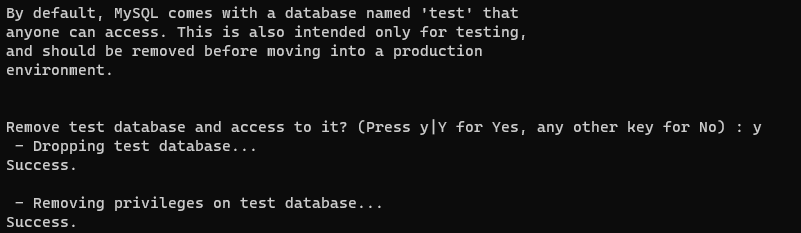

For phpMyAdmin we need to switch root authentication from auth_socket to password-based. Open MySQL:
sudo mysql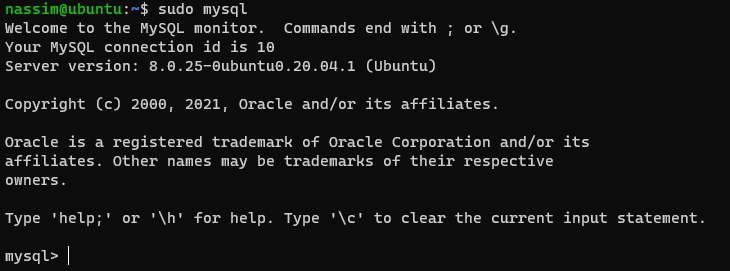
Check plugins:
SELECT user,authentication_string,plugin,host FROM mysql.user;
Set a password for root (replace 'password' with yours):
ALTER USER 'root'@'localhost' IDENTIFIED WITH mysql_native_password BY 'password';
FLUSH PRIVILEGES;
Verify:
SELECT user,authentication_string,plugin,host FROM mysql.user;
Optional: use caching_sha2_password#
For newer MySQL you can use caching_sha2_password instead:
ALTER USER 'root'@'localhost' IDENTIFIED WITH caching_sha2_password BY 'password';
FLUSH PRIVILEGES;
See the MySQL docs for details.
Install PHP and test#
Exit MySQL (exit), then install PHP and the Apache module:
sudo apt install php libapache2-mod-php php-mysql -y
sudo systemctl restart apache2
Test PHP: create a file:
sudo nano /var/www/html/info.phpAdd:
<?php
    phpinfo();
?>
Save (Ctrl+X, Y, Enter).

Open http://your-server-ip/info.php in your browser. You should see the PHP info page. Remove this file in production (it exposes configuration):
Warning
This file contains sensitive information about your server. Do not leave it in production.
sudo rm /var/www/html/info.php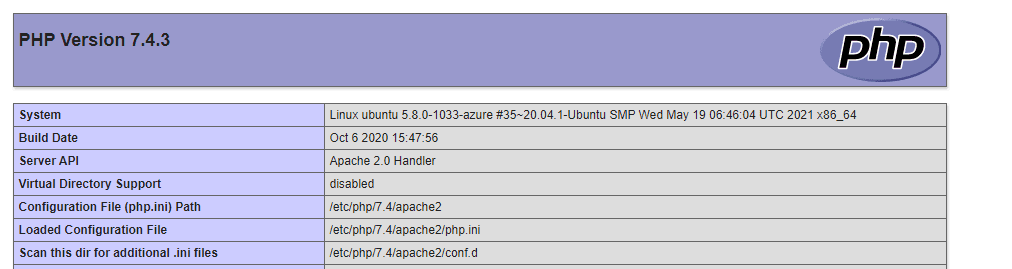
Install phpMyAdmin#
Install phpMyAdmin:
sudo apt update
sudo apt install phpmyadmin php-mbstring -y
In the installer, select apache2 (use Space to select), then OK. When asked to configure a database for phpMyAdmin, choose Yes. Set and confirm an application password for phpMyAdmin.
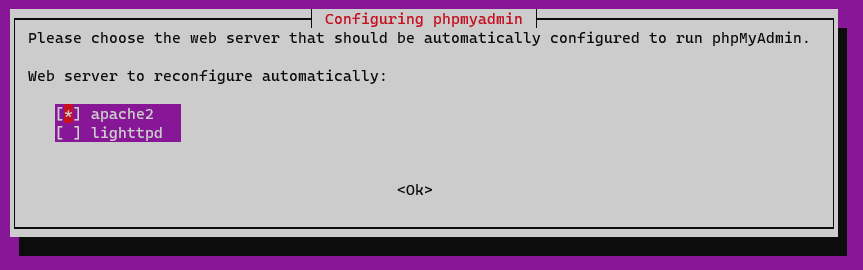
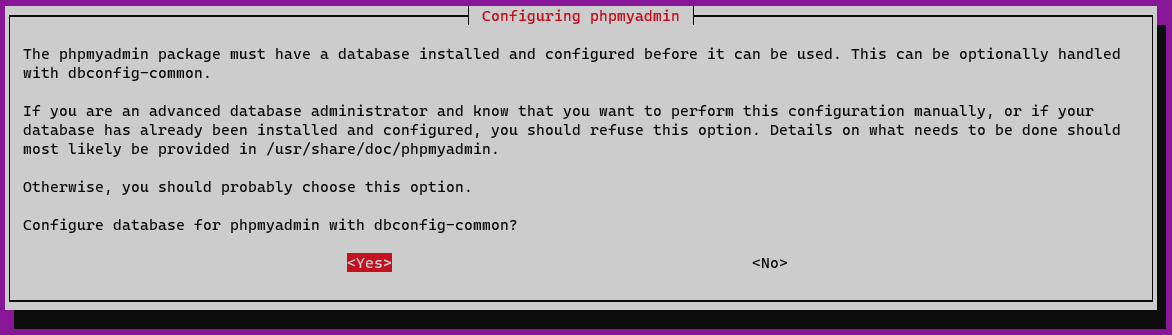
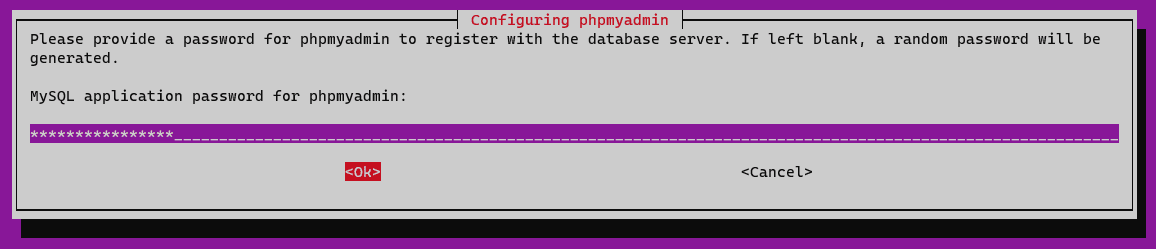
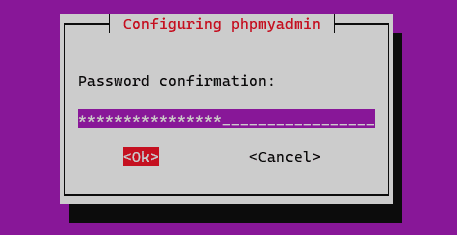
Enable the mbstring extension and restart Apache:
sudo phpenmod mbstring
sudo systemctl restart apache2
Open http://your-server-ip/phpmyadmin. Log in with user root and your MySQL root password.
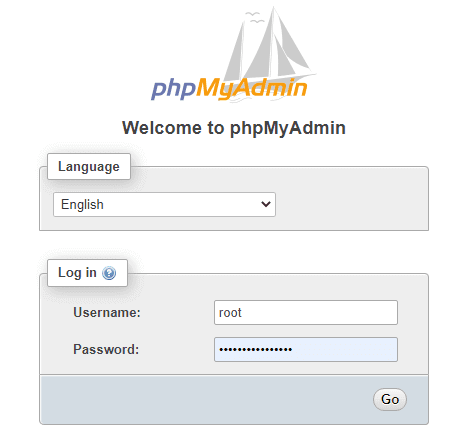
You now have a full LAMP stack. You can add a WordPress site or configure virtual hosts to run multiple websites on the same server.
Related posts
Important Configurations and Settings When You Launch Your Cloud Server
How to securely configure a new Linux cloud server: create a user, SSH key-based auth, disable password and root login, and set up UFW firewall.
Jun 3, 2021 · 5 min read
Set Up a Billing Alarm on Amazon AWS CloudWatch
Step-by-step guide to creating a billing alarm in AWS CloudWatch so you get notified when your bill exceeds a threshold, plus free tier usage alerts.
Sep 17, 2021 · 3 min read